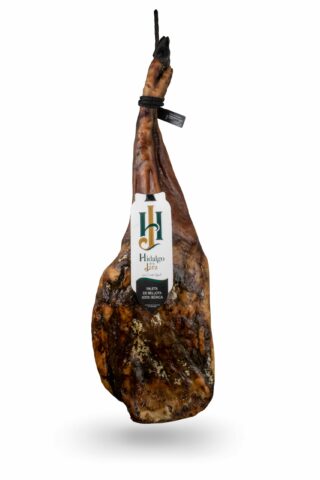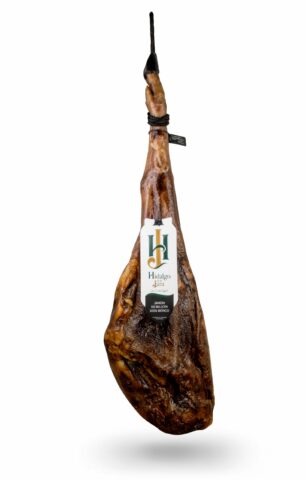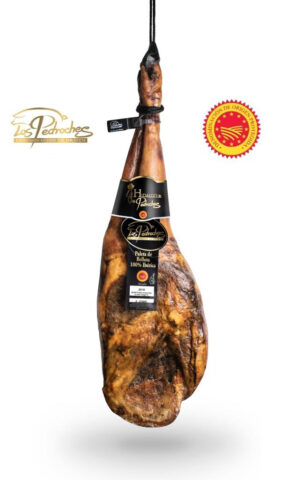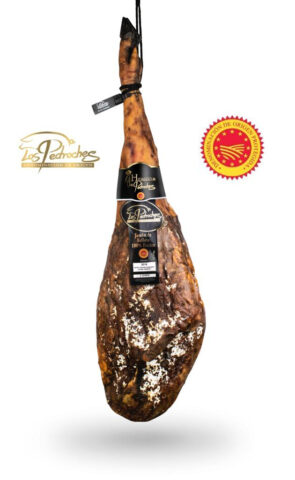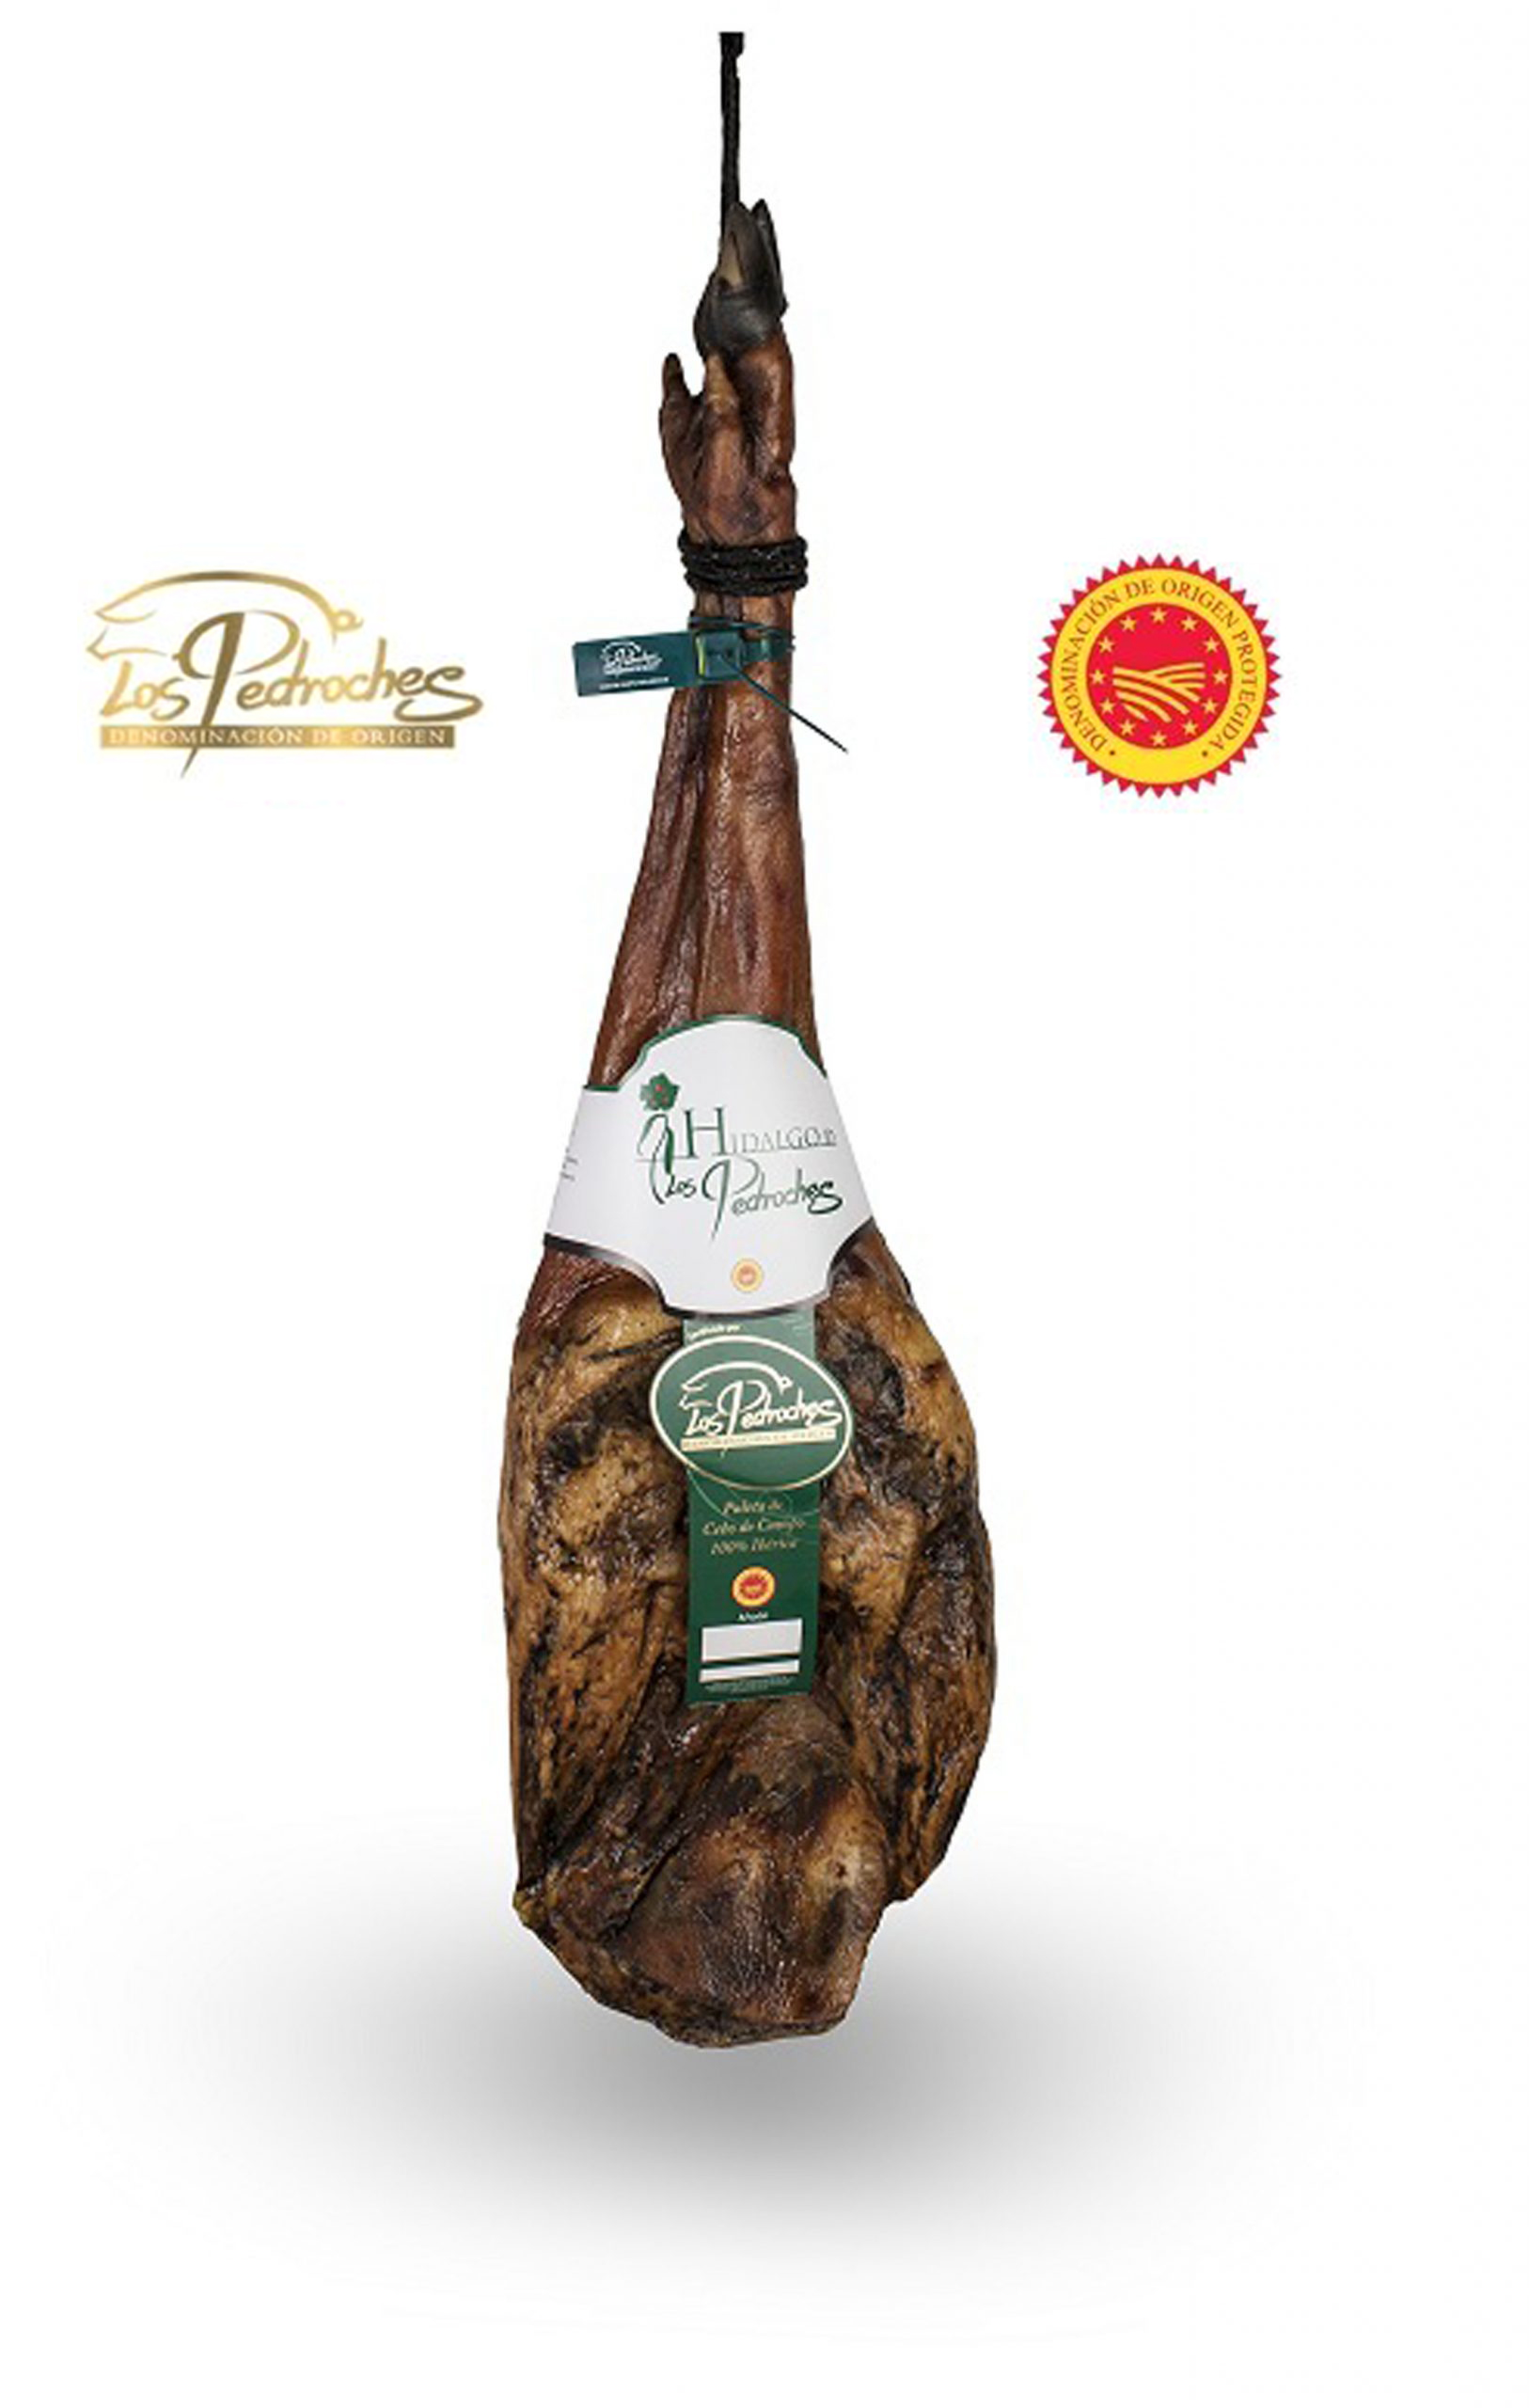
Carving a ham at home has a ceremonial side, but technique matters more than theatre. Good carving is about safety, consistency, pleasant slices and making the best possible use of the whole piece. A well-managed ham gives better slices and leaves fewer awkward trimmings that are difficult to use.
Before the knife comes out, three decisions shape everything that follows: how securely the ham is held, which side to start from and how quickly the household expects to eat it.
Know the main sections of the ham
A whole ham is not uniform. The maza is the broad, generous side and usually produces wide, juicy slices. The contramaza lies on the opposite side and is narrower. The babilla generally has less outer fat protection and may dry sooner once exposed. The punta, near the hip, combines fat and intense flavour. Closer to the hoof, the jarrete and caña contain firmer meat that is excellent for cubes and cooking.
Understanding those sections prevents a common mistake: trying to force the same style of slice from every part of the ham. The better approach is to adapt the cut to the anatomy.
Hoof up or hoof down?
A useful traditional rule is this: for relatively fast consumption, start from the maza with the hoof facing up; for slower consumption, it may make sense to begin on the babilla with the hoof facing down. The reasoning is that the babilla has less external fat protection, so leaving it untouched for many weeks while the maza is consumed can be less desirable.
This is guidance, not an absolute law. Piece size, room conditions and actual eating frequency matter. For the storage side of the decision, see our detailed guide How to store an Iberian ham once it has been started.
The stand must hold the ham firmly
Stability is part of carving technique. A flexible stand, a small base or a poorly secured ham forces the carver to correct the knife path with the other hand. The ham should remain rigid at a comfortable working height. The free hand should never sit in front of the expected direction of the blade.
A practical home set consists of a long, narrow, flexible ham knife kept properly sharp, a short rigid knife for rind and outer fat, and a small boning or paring knife for working carefully around bones. Extra tools do not compensate for a dull edge.
Initial trimming: expose only what you plan to eat
Removing a huge area of rind on day one is unnecessary. Rind and outer fat protect the sections that are not yet being carved. Trim the working area progressively instead.
Remove hard rind and the oxidised yellow outer fat until clean fat and meat are reached. Some clean white fat can be retained to cover the cutting surface between sessions. It should not be confused with old yellow outer fat or rind.
What should a good slice look like?
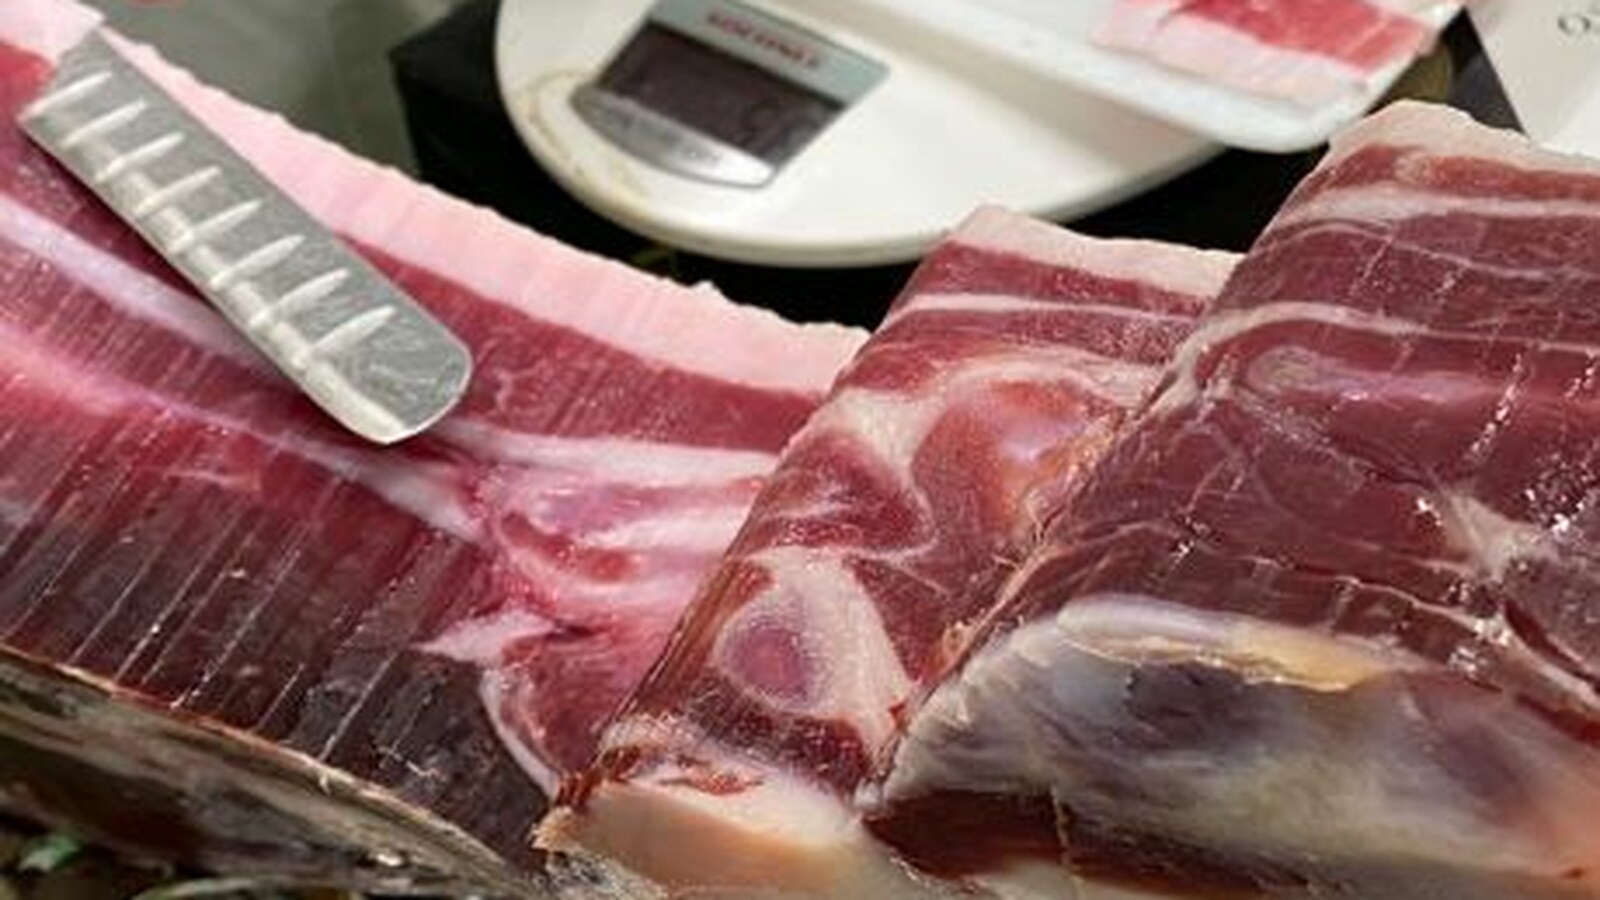
A home-carved slice does not need to be mathematically perfect. It should be thin, flexible, comfortable to eat in one bite and show a sensible balance between lean meat and fat. On broad sections, long smooth strokes nearly parallel to the surface work better than short sawing motions.
A sharp knife should do most of the work. Excessive downward pressure reduces control. This is one reason sharpening is a safety matter as much as a presentation matter.
Keep the cutting face reasonably even
As carving progresses, avoid digging a deep bowl into the centre. A strongly concave surface makes later slices difficult and leaves tall edges that eventually become wasteful trimmings. “Even” does not mean perfectly horizontal; the ham’s anatomy naturally creates a slope. It means progressing across the width in an orderly way.
When bone appears, do not try to cut through it. Trace carefully around it with a shorter knife so the slicing knife can continue close to the bone. This small detail has a major effect on yield.
What to do when you reach the bones
The femur and other bones change the geometry of the cut. Make a controlled incision alongside the bone and continue slicing only while the knife has a safe, clean path. When one face no longer produces useful slices, rotate the ham rather than forcing the blade into awkward angles.
There is no prize for extracting a perfect slice from every last millimetre. Close to joints and bones, the natural format becomes a cube or trimming, and those pieces have excellent culinary uses.
Make use of the trimmings
Clean lean trimmings can be chopped for croquettes, eggs, fillings, sautés or sauces. Firmer cubes from the lower sections are excellent in pulses, vegetable dishes and slow-cooked recipes where the ham contributes savoury depth.
Clean white fat can also be used sparingly to flavour recipes. Separate it from oxidised yellow fat and any piece with an unpleasant aroma. The same sensory common sense applied to the ham itself applies here.
Do the bones have a use?
Yes. Once slicing is finished, the bones can be cut into manageable pieces and used in stocks, soups, stews and pulse dishes. If they are not needed immediately, portion and freeze them well wrapped. The usable life of a ham therefore continues after the final slice.
Serving freshly carved ham
Freshly carved ham needs little decoration. Arrange slices so they are easy to pick up rather than piling them heavily. A plate at room temperature is more suitable than an ice-cold plate, which immediately firms the fat.
Pre-sliced refrigerated packs are different: allow them to reach an appropriate serving temperature before opening and arranging them, always following the producer’s storage instructions.
Common mistakes that reduce yield
- Removing too much rind: exposes areas long before they will be eaten.
- Using an unstable stand: reduces both control and safety.
- Working with a dull knife: encourages excessive force.
- Digging into the centre: creates a difficult, uneven carving face.
- Throwing away useful trimmings and bones: wastes valuable culinary material.
- Insisting on slices next to the bone: cubes are often the better format there.
Understanding the piece improves the experience
Ham carving gets better quickly with practice. The real skill is learning to read the ham: notice where fat sits, anticipate bones, choose the comfortable direction and know when to move from slices to cubes. That makes the piece easier to use and reveals why flavour and texture change from one section to another.
Before buying a piece, it is equally useful to understand what the official colour seals mean. See Black, red, green or white seal: what each Iberian ham label really means.
Related hams and shoulders
-
EMDO Selection SaleSale!
 Select options
This product has multiple variants. The options may be chosen on the product page
Select options
This product has multiple variants. The options may be chosen on the product page
-
EMDO Selection SaleSale!Select options
This product has multiple variants. The options may be chosen on the product page
-
EMDO Selection SaleSale!Select options
This product has multiple variants. The options may be chosen on the product page
-
EMDO Selection SaleSale!Select options
This product has multiple variants. The options may be chosen on the product page
-
Sale!Select options
This product has multiple variants. The options may be chosen on the product page