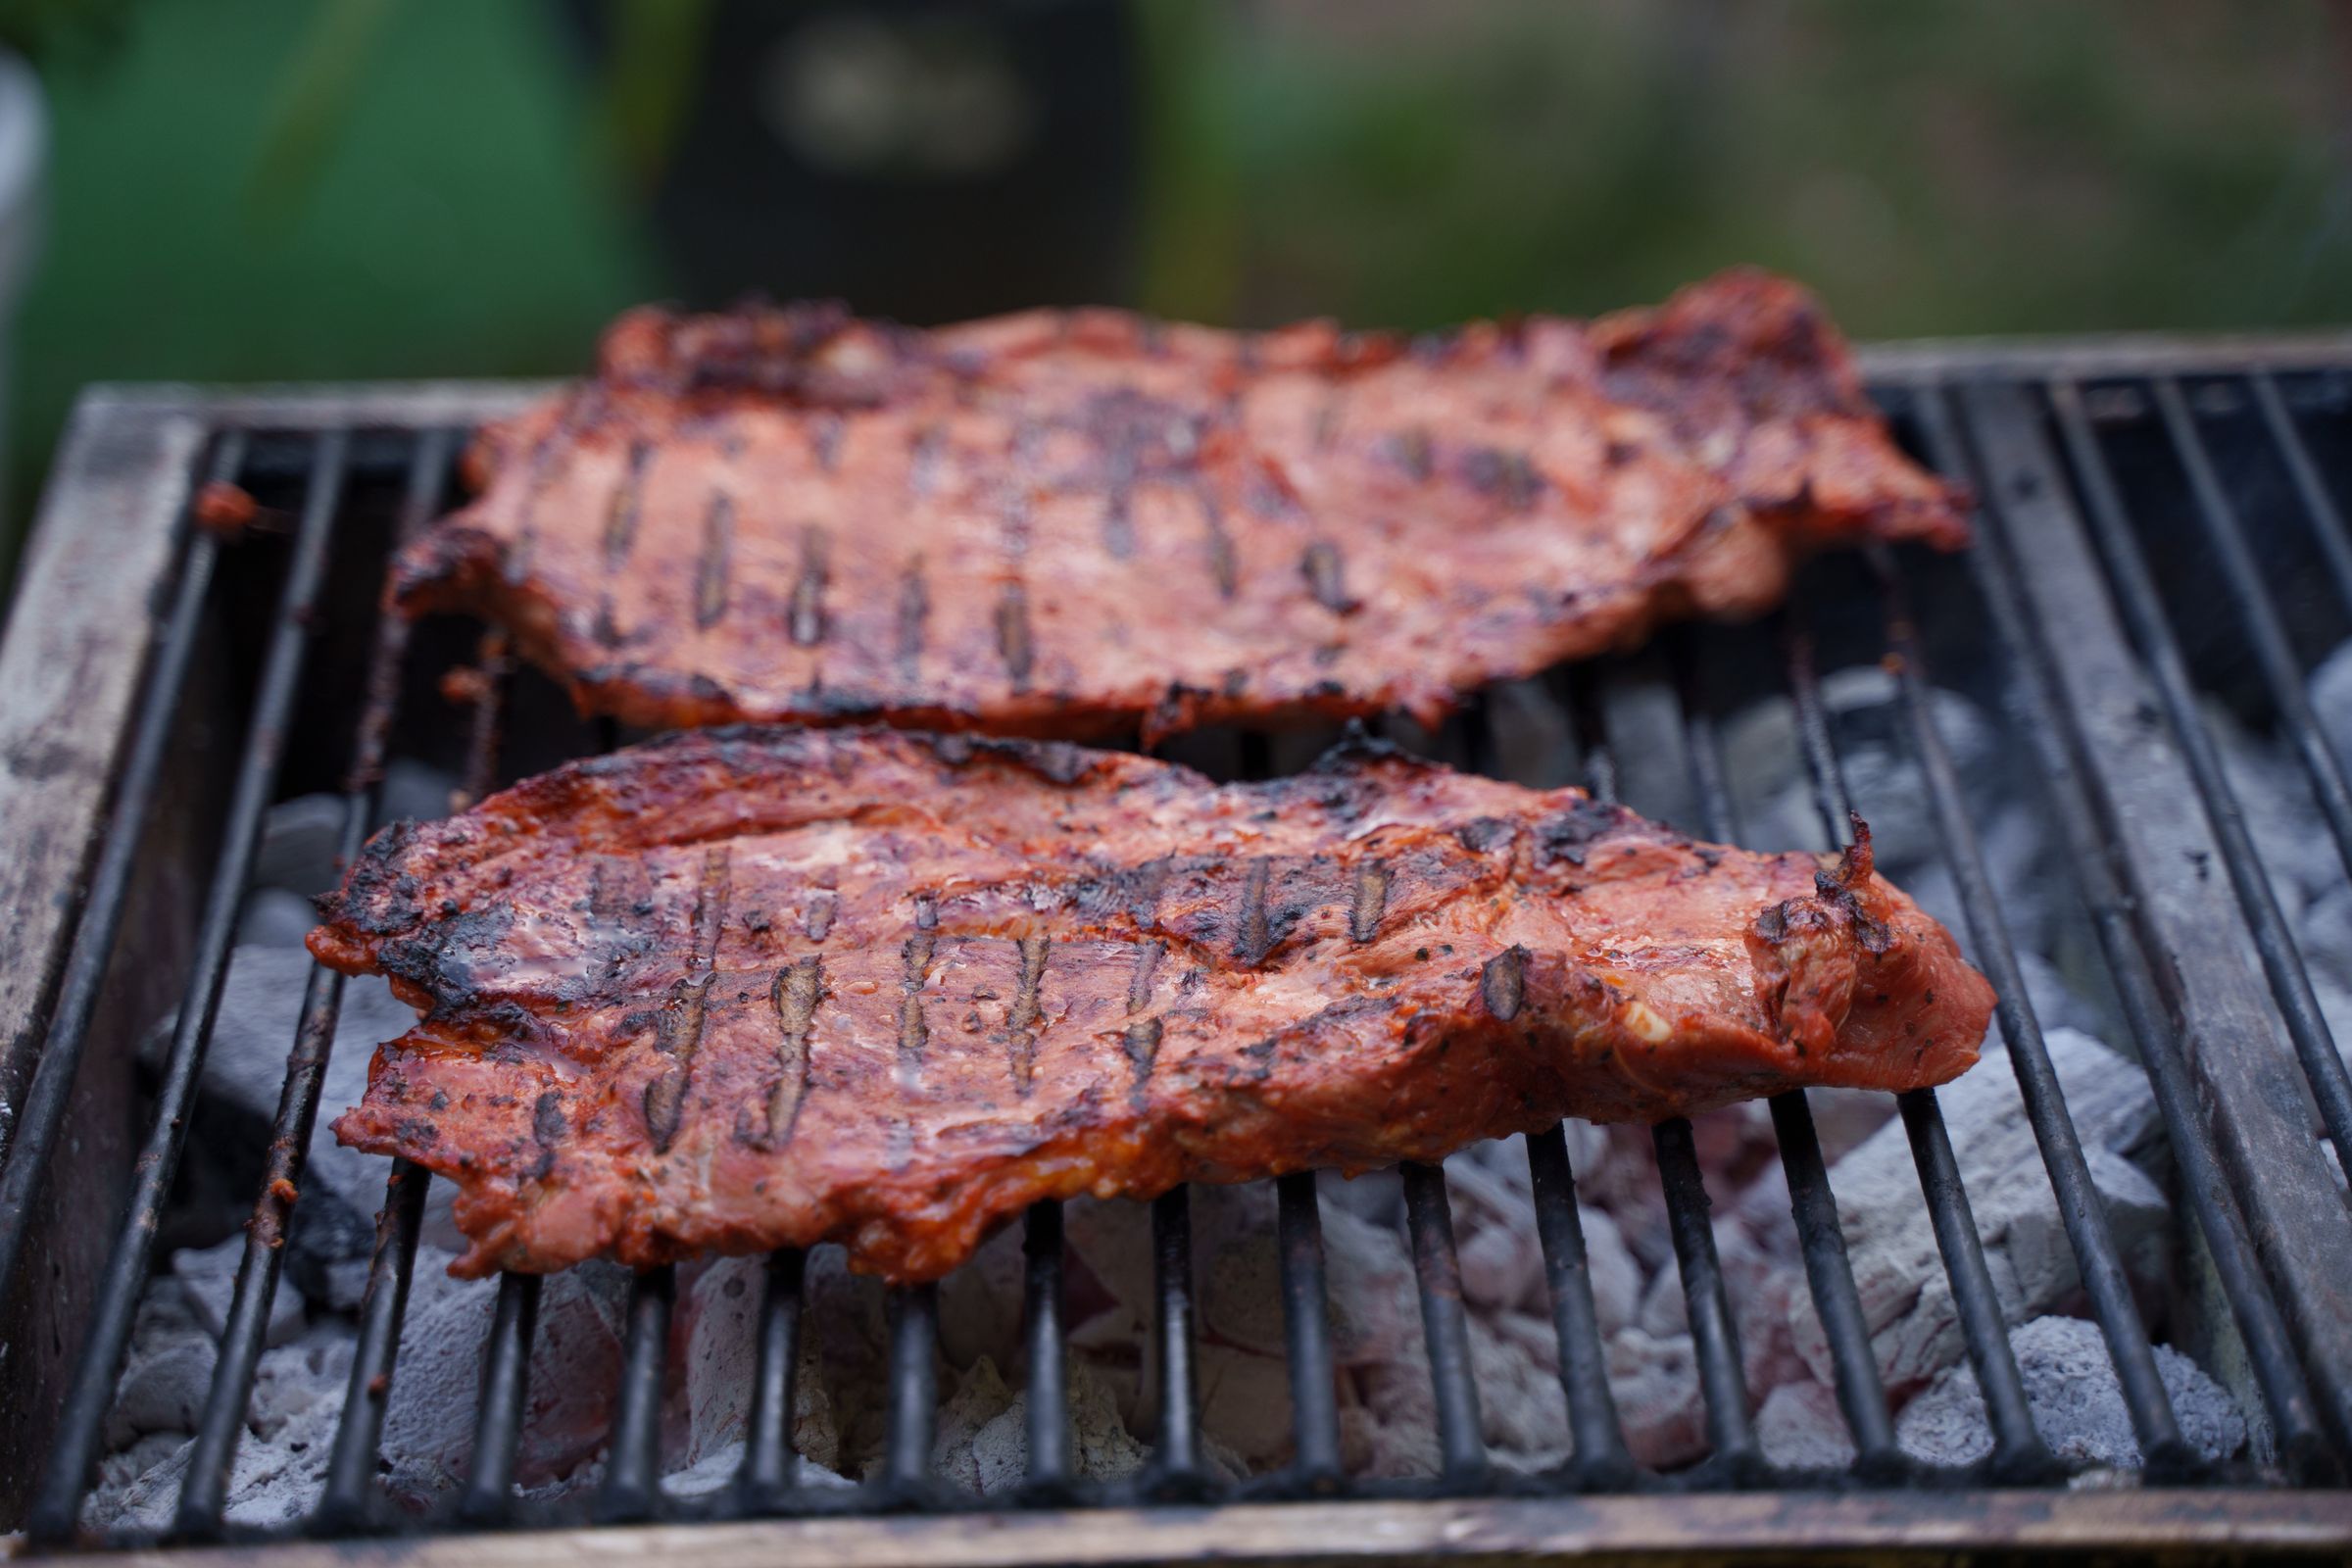
Cooking a perfect thick bone-in steak at home is not about memorising “three minutes per side”. A 3 cm steak and a 6 cm steak need different strategies, and results also change with pan weight, heat output, starting temperature and fat content. The repeatable approach is to control two things separately: surface crust and centre temperature.
This guide works for fresh or dry-aged beef and compares frying pan, griddle, barbecue grill and oven. The goal is not to impose one doneness level, but to show you how to reach the one you prefer.
Start with a steak that suits the method
Thickness gives you time to brown the outside while keeping the centre cooler. With a very thin steak, the middle may be overdone by the time a good crust has developed. Several centimetres of thickness provide much more control.
Look for a relatively even cut, sound fat and a surface that can be dried properly. If you are choosing between formats, see our rib steak vs entrecôte comparison.
Do you need to leave steak at room temperature for hours?
No. A thick steak takes a long time to equalise all the way to the centre, so leaving it out for hours offers less practical benefit than is often claimed. Take it out while you organise the cooking equipment if useful, but keep food handling sensible and avoid unnecessarily long periods outside refrigeration.
What matters greatly is drying the surface. Surface water must evaporate before intense browning can take place.
When should you salt it?
Two simple timings work well: immediately before cooking, or sufficiently far in advance for moisture initially drawn to the surface to be reabsorbed. If salting ahead, around 40 minutes or more is generally more useful than salting only ten minutes before cooking and putting a visibly wet steak into the pan.
The right quantity depends on steak thickness and salt type. Start reasonably and adjust at the table if needed.
The most useful tool: an internal thermometer
Minutes are unreliable because every steak and kitchen is different. Insert the probe into the thickest section, aiming for the centre without touching bone. See our guide to beef doneness and internal temperature for culinary ranges and food-safety context.
Remember that a thick steak can continue to rise by several degrees while resting. If you wait until the centre reaches your final target while it is still over fierce heat, you may overshoot.
Method 1: frying pan
- Use a heavy pan large enough for the steak. Preheat it so it can brown quickly without keeping oil smoking for long periods.
- Dry and season the steak.
- If there is a substantial fat edge, hold it against the pan briefly to begin rendering.
- Brown the main faces. Turning more than once is perfectly acceptable; the goal is an even crust.
- If the crust is ready before the centre, reduce the heat or transfer to the oven.
- Measure the centre and remove the steak before it overshoots your chosen endpoint.
Butter, garlic and herbs can be added near the end when the pan is slightly less aggressive. Added at the beginning over extreme heat, they are more likely to burn.
Method 2: griddle
A flat griddle follows the same logic, although many domestic griddles have less thermal mass than a heavy iron pan and lose temperature when crowded. Leave space around the steak and do not overload the surface.
A smooth griddle gives more complete contact than a heavily ridged surface. Grill lines look attractive, but an even brown crust creates a larger area of browned flavour.
Method 3: barbecue grill
The most useful setup is a two-zone fire: one area hot enough to brown and another with gentler or indirect heat. You can then move a thick steak once the crust is ready or when fat causes persistent flare-ups.
- Preheat the grill and clean the grate.
- Sear over the strong zone.
- Move to gentler heat if the centre still needs time.
- Close the lid, where available, to surround a very thick steak with heat.
- Measure more than one area, particularly on irregular bone-in cuts.
Method 4: oven plus searing
For very thick steaks, the oven provides control. You can sear first and finish at moderate oven heat, or use a reverse sear: slowly bring the centre close to target in a low oven and create the final crust in a very hot pan or on the grill.
Reverse searing tends to produce a more even band of doneness and dries the surface slightly before the final high-heat stage. It is particularly useful for steaks roughly 4-5 cm thick or more.
Which method should you choose?
| Method | Best suited to | Main thing to manage |
|---|---|---|
| Pan | Indoor cooking and steaks that fit comfortably. | Do not burn fat or aromatics before the centre is ready. |
| Griddle | Simple surface cooking and multiple portions. | Avoid crowding and heat loss. |
| Grill | Large cuts and live-fire flavour. | Use two zones and manage flare-ups. |
| Oven + sear | Very thick steaks. | Use a thermometer and time the high-heat crust separately. |
How long should the steak rest?
Resting gives the temperature time to stabilise and prevents you from slicing at the moment the exterior is at its hottest. Do not wrap the steak tightly, because trapped steam softens the crust. A thick steak usually benefits from several minutes, although exact timing depends on size.
For the science behind this stage, read why beef should rest after cooking.
Common mistakes
- Cooking only by the clock: ignores thickness and real centre temperature.
- Wet surface: slows browning.
- Pan too small: the bone prevents even contact.
- Maximum heat from start to finish: can burn the exterior before the centre is ready.
- Slicing immediately: makes the final temperature harder to manage.
- Assuming dark crust means a cooked centre: they are separate variables.
A method you can actually repeat
Dry, season, brown, measure, finish with gentler heat when necessary and rest. That sequence is more dependable than any universal minute-per-side rule. Once the method is consistent, you can simply change the target to suit your preference and steak thickness.
Beef cuts for practising the technique
-
Sale!
 Select options
This product has multiple variants. The options may be chosen on the product page
Select options
This product has multiple variants. The options may be chosen on the product page


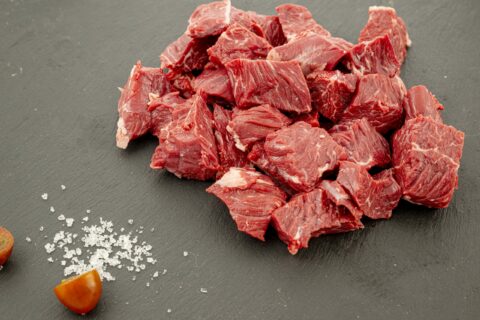


 Lean diced beef / beef ragout