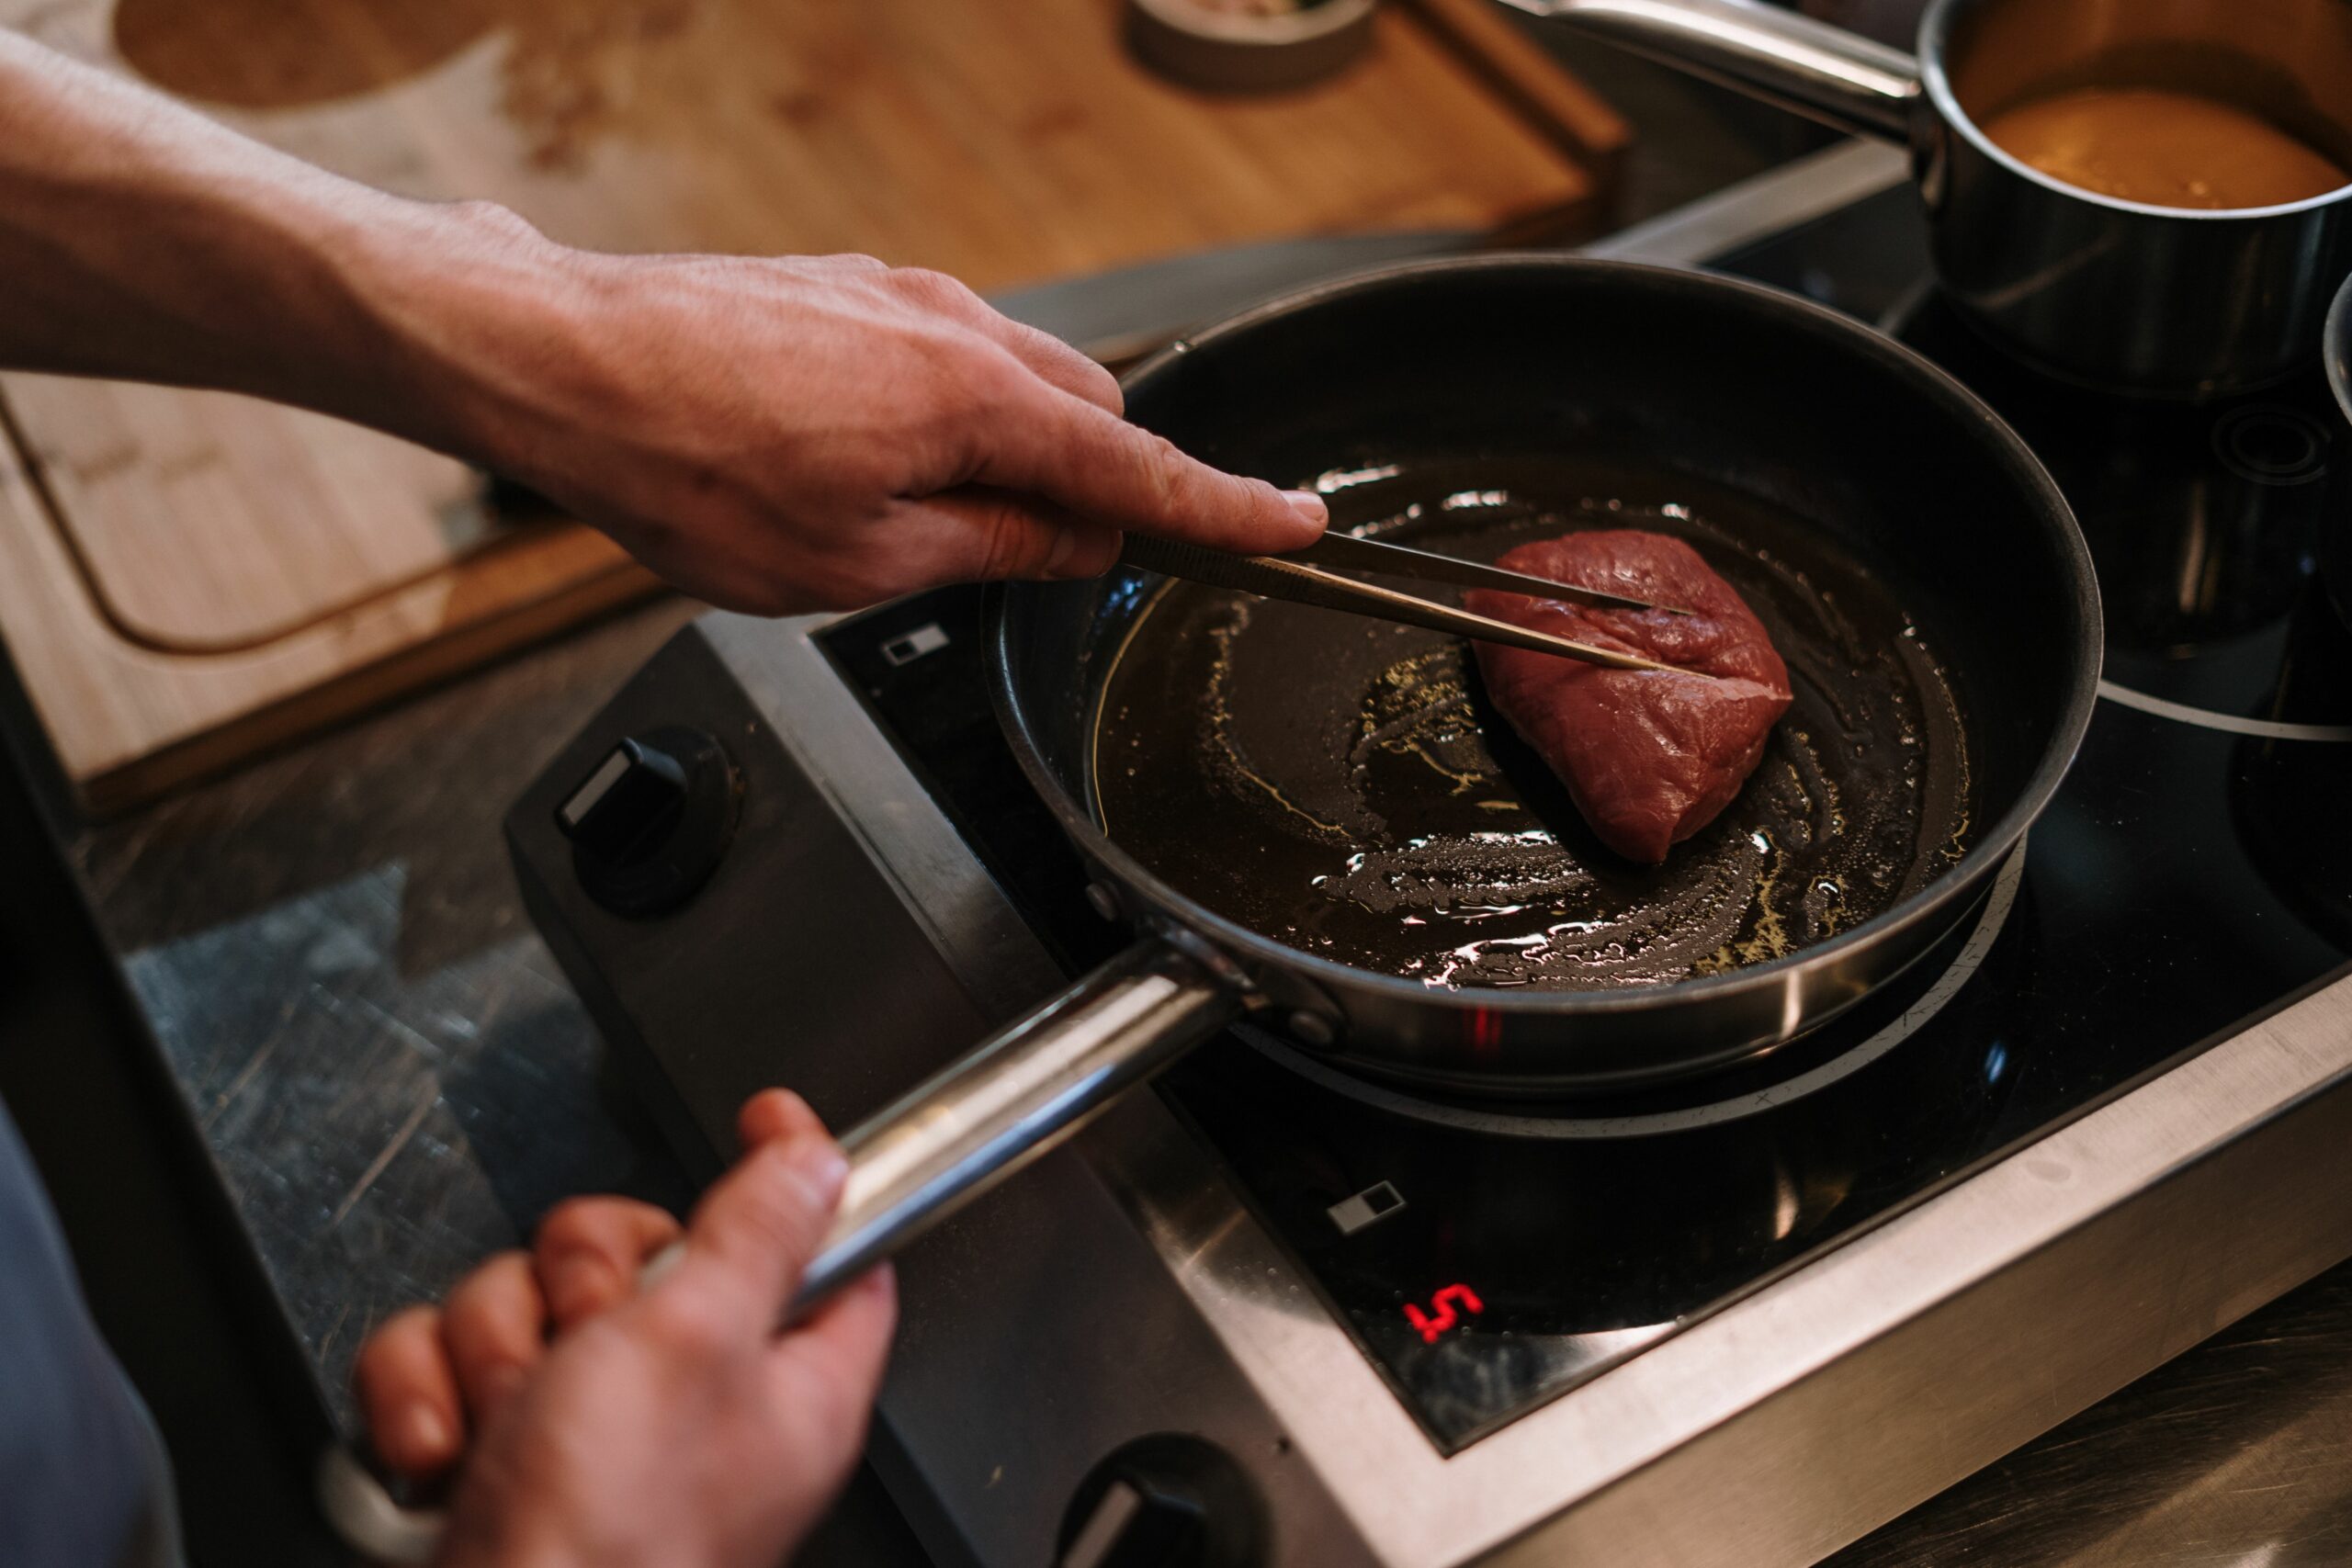
You place a steak in a hot pan, try to move it almost immediately and it seems welded to the metal. The instinctive response is to pull harder, add more oil or assume the pan is unsuitable. Yet in many cooking situations that initial sticking is normal: water, surface proteins and heat have not yet created a dry, stable browned crust.
The useful question is not only why meat sticks, but when you should turn it. With many cuts, waiting a little longer allows browning itself to reduce adhesion. Forcing the meat loose too early can tear the surface, sacrifice part of the crust and leave fragments behind to burn.
Why meat can stick to metal
Meat is not a dry surface. It contains a great deal of water and proteins that change structure when they contact a hot pan. During the first moments, some of those proteins can make close contact with microscopic irregularities in the metal. If you lift the meat before that layer has dehydrated and browned, resistance can be strong.
This is especially noticeable with stainless steel, where there is no non-stick coating physically separating food from metal. That does not make stainless steel a poor choice. Used well, it can produce excellent browning and a flavourful fond for sauces.
Surface moisture is one of the main variables
A wet surface takes longer to brown. Before its temperature can rise substantially, much of the surface water must evaporate. While abundant moisture remains, the contact is unstable, steam is produced and the food can stay in an intermediate phase without a firm crust.
Patting meat dry shortly before cooking therefore helps. You are not removing moisture from the centre; you are simply taking away the external film that delays browning. This is also why our guide explaining that searing does not seal in juices focuses on flavour and surface chemistry rather than an imaginary waterproof barrier.
Should the pan be preheated?
Usually, yes, particularly when a pronounced crust is the goal. A pan that begins too cool keeps the meat in a wet, grey cooking phase for longer before meaningful browning starts.
But “hot” does not mean leaving every pan at maximum power for many minutes. The right setting depends on pan material and thickness, steak thickness, burner power and cooking fat. A thin pan can overshoot quickly, while a heavy one stores more energy when cold food is added.
Oil helps, but it does not solve everything
A thin film of fat reduces direct contact in some areas and improves heat transfer across tiny gaps. However, flooding the pan with oil will not compensate for very wet meat, poor temperature control or trying to move the steak too early.
The fat should also be appropriate for the intended heat. If it is smoking aggressively before the meat enters, the pan may be hotter than necessary for that particular fat.
When should you try to turn the meat?
A practical sign is that the meat begins to release with much less resistance. Test an edge gently with tongs or a spatula. If it remains firmly attached and the surface is not burning, give it a little more time. As browning progresses and the contact layer dries, many cuts release surprisingly easily.
This is not a rigid instruction to “never touch the steak”. Some methods turn meat frequently to control the temperature gradient, especially with thick cuts. The important distinction is avoiding force while the surface is still strongly attached.
Does turning meat several times make it worse?
Not necessarily. Multiple turns can produce very even cooking and make browning easier to monitor. The rule that a steak may only be flipped once is not universally supported by the physics of cooking. What can be counterproductive is repeatedly disturbing it during the first moments before the crust has begun to form.
A thin steak may need only one or two turns. A thick piece may benefit from several turns while internal temperature is monitored. The method should follow thickness and desired doneness.
What happens when the pan is overcrowded?
Adding many pieces at once pulls heat from the pan and introduces a large amount of moisture. Steam increases and browning slows. Instead of forming a clean crust, meat can end up sitting among liquid and coagulated proteins.
This is related to the white foam sometimes seen when cooking meat, although the two are not identical. If you need to brown a large quantity, working in batches usually gives better results.
Stainless steel, cast iron and non-stick behave differently
Non-stick pans generally show less initial adhesion, but many coatings are not designed for extreme preheating. Cast iron and carbon steel, when well seasoned and maintained, can become relatively release-friendly. Stainless steel demands more technique but can deliver intense browning and an excellent fond.
There is no single correct pan material. Heat capacity, temperature control and technique can matter as much as the material name itself.
What if the meat remains stuck after it should have browned?
Review several possibilities: the pan started too cool, the surface was very wet, a very lean cut had no cooking fat at all, burnt residue remained from a previous batch, or the pan needs maintenance. Sugary marinades can also create strong adhesion because their sugars brown and burn quickly.
In those cases, reducing the heat slightly and cleaning the cooking surface between batches may work better than continually adding more oil.
Do not confuse sticking with releasing water
Meat can stick and release liquid at the same time, but these are not the same phenomenon. A pan can fill with water because it has lost heat while the meat itself is not strongly adhered. Conversely, a relatively dry steak can stick during the first moments and then release once it browns.
For the liquid itself, see our guide to why meat releases water during cooking.
A simple sequence for browning without tearing the crust
- Pat the meat dry.
- Preheat the pan appropriately for its material.
- Use a sensible film of fat when the cut and method need it.
- Do not crowd the pan.
- Place the meat down and allow the first browning phase to develop.
- Test gently; if it is still firmly stuck and not burning, wait a little longer.
- After browning, adjust heat so the exterior does not burn before the centre reaches the desired doneness.
The key idea
Meat that sticks at first does not always need more oil or more force; often it needs more time. As the surface loses moisture and develops a crust, adhesion commonly decreases. Recognising that release point helps preserve the crust and makes cooking more controlled.
The effect is strongest when combined with a dry surface, an adequately preheated pan and enough space. As with bringing meat towards room temperature, it is useful to separate variables that genuinely change the cooking process from rules repeated automatically.



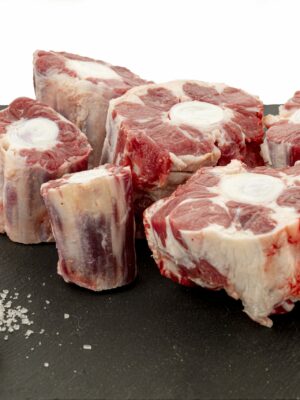 Oxtail
  Beef roasting joint